How is February already almost over?!? We're seven and a half weeks into 2022 and time is chugging on faster than it needs to be. I've been wanting to work on something personal (for our house) for a few months now, but time hasn't been on my side. After missing out on making crafts for the holiday season, I really wanted to start this year off right. I've also been wanting to make this wreath project for a few months, and I finally decided to do it before winter slips by and fades into spring!
Back at the height of the holiday season in November and December, I saw so many people making these. I'm in a Disney home decor group on Facebook and everyone was going crazy for these fuzzy Mickey Mouse yarn wreaths. They are so easy to make and they're perfect for Christmas and the winter months!
Want to make one of these cute Mickey yarn wreaths for yourself? Here's how I did it!
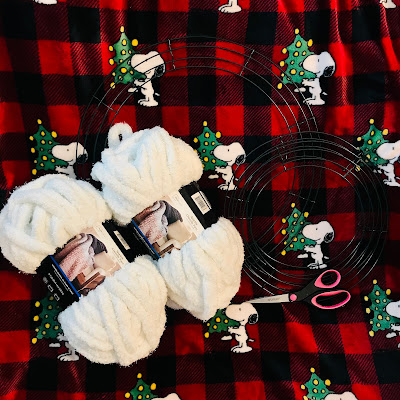
Materials:
1 Large Wire Wreath Bases (I used a 18" wreath base)
2 Smaller Wire Wreath Bases (I used two 12" wreath bases)
White or Ivory Chunky Yarn (I used 1 full skein, plus a little bit of a second one)
Zip Ties
Scissors
Optional- Embellishments and Seasonal Decor (snowflakes, ribbon, floral picks, etc.)
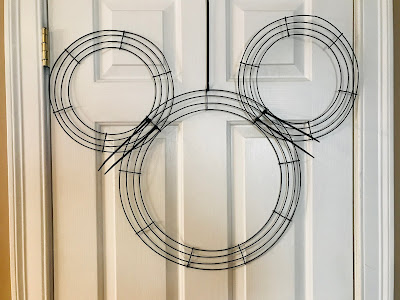
1.) Attach the Ears to Your Large Wreath Base
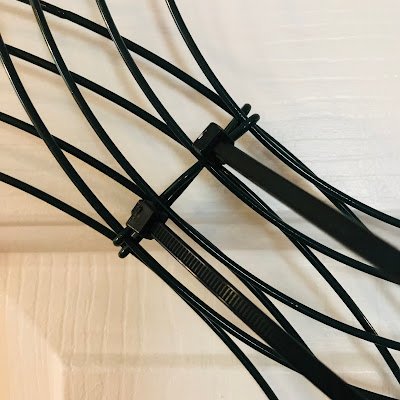
The first thing I did was attach my two smaller wreath bases to the large one. In order to keep them even, I used the cross wires on the large one to space the ears. Then, I covered those with the cross wires on the smaller wreaths. Once they were lined up, I used zip ties to attach them to each other. (See photo below.) On one side, I only needed two, while the other side needed three to keep the ears secure. Cut the zip ties when you are happy with their placement.
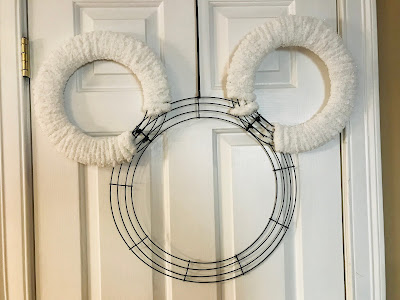
2.) Wrap the Ears
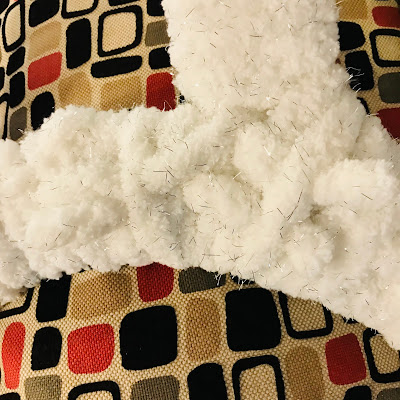
Next, wrap the ears with yarn. Tie the end of the yarn to one of the wires and then start wrapping it around the wreath form. I quickly found out that the skein of yarn was too much to keep passing thorough the wreath, so I cut my yarn into smaller sections to make it easier. When you reach the end of that yarn strand, you can tie it to the wreath, or you can tuck the ends under one of the other wraps on the back. Start another strand and keep doing this until you've covered both ears.
3.) Wrap the Bottom Part of the Head
I used the same process as Step #2 to wrap the bottom part of the head. I started below one ear and kept going until I reached the bottom of the other one. You can tuck the ends of the yarn into the area where the ears and head meet. (See photo below.)
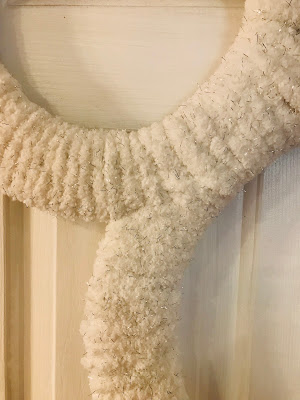
4.) Wrap the Area Around the Ears and Top of the Head
The hardest part for me was wrapping the yarn around the area where the ears and the top of the head meet. Thankfully, with the wire wreath bases you can wrap the yarn in multiple areas. I looked at where I needed to fill the ears and then wove the yarn around that spot. In some places, I was only covering part of the wreath form and going in between the wires. While in other areas, I went from the head all the way through to the ear. Just do what looks right and fills in that area so it looks clean. Oh, and don't forget to make sure you cover the zip ties! (See photo below.)
5.) Fluff and Add Embellishments (Optional)
Once that entire area around and between the ears is covered in yarn, you're done! I hung my wreath up and fluffed out of of the areas where the yarn was tight. Once it's wrapped, you can gently move the yarn if it's too tight or too loose in areas.
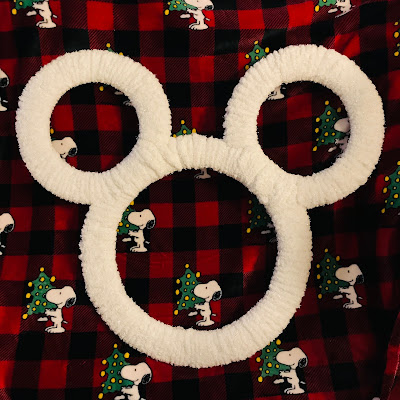
If you want, add embellishments and/or seasonal decor to give your wreath more of a pop! I wanted to put buffalo plaid ribbon on mine but I couldn't find it. (Hence why I used Eliot's buffalo plaid Snoopy blanket as a backdrop instead; I just love how it looks against buffalo plaid!) Also, if you don't use hot glue to permanently attach your decorations, you could change it for the seasons. I think you could use ribbon, glittery snowflakes, or floral picks and they would all look beautiful with this wreath. It's such a simple and neutral design that you could do a lot with it! It also looks great as is!
Isn't this Mickey Mouse Winter Yarn Wreath cute?!?! It's really soft too. I also love how the yarn I found has little specks of metallic silver in it! It makes it a little bit shimmery. I'm definitely going to make more of these Mickey wreaths for our house!
I hope you enjoyed this tutorial! If you make one, please comment below, send me pictures over on Facebook or tag me in your photos on Instagram! °o°


No comments:
Post a Comment